Cooking creates some stress in people and that stress increases even more when it’s for a holiday and large numbers of people. Don’t let it stress you out! Take help from the store or take others up on their offer to bring a specific item, make what you can ahead of time and keep it simple of the day of!!
Here is my plan this year for Thanksgiving (recipes are below):
Roasted Turkey
Gravy
Cranberry Sauce
Steamed Lobster
Stuffing
Sweet potato gratin or sweet potato soup.
Mashed Potatoes
Spinach Salad with roasted butternut squash, goat cheese and raspberry vinaigrette
Dinner Rolls
Compound butter
Dessert
Beverages
I haven’t even thought about appetizers yet!!! Simple is best though because a big meal is coming. I’ll probably just put out a simple veggie tray with hummus, a cheese plate and salami, prosciutto plate.
Recipes:
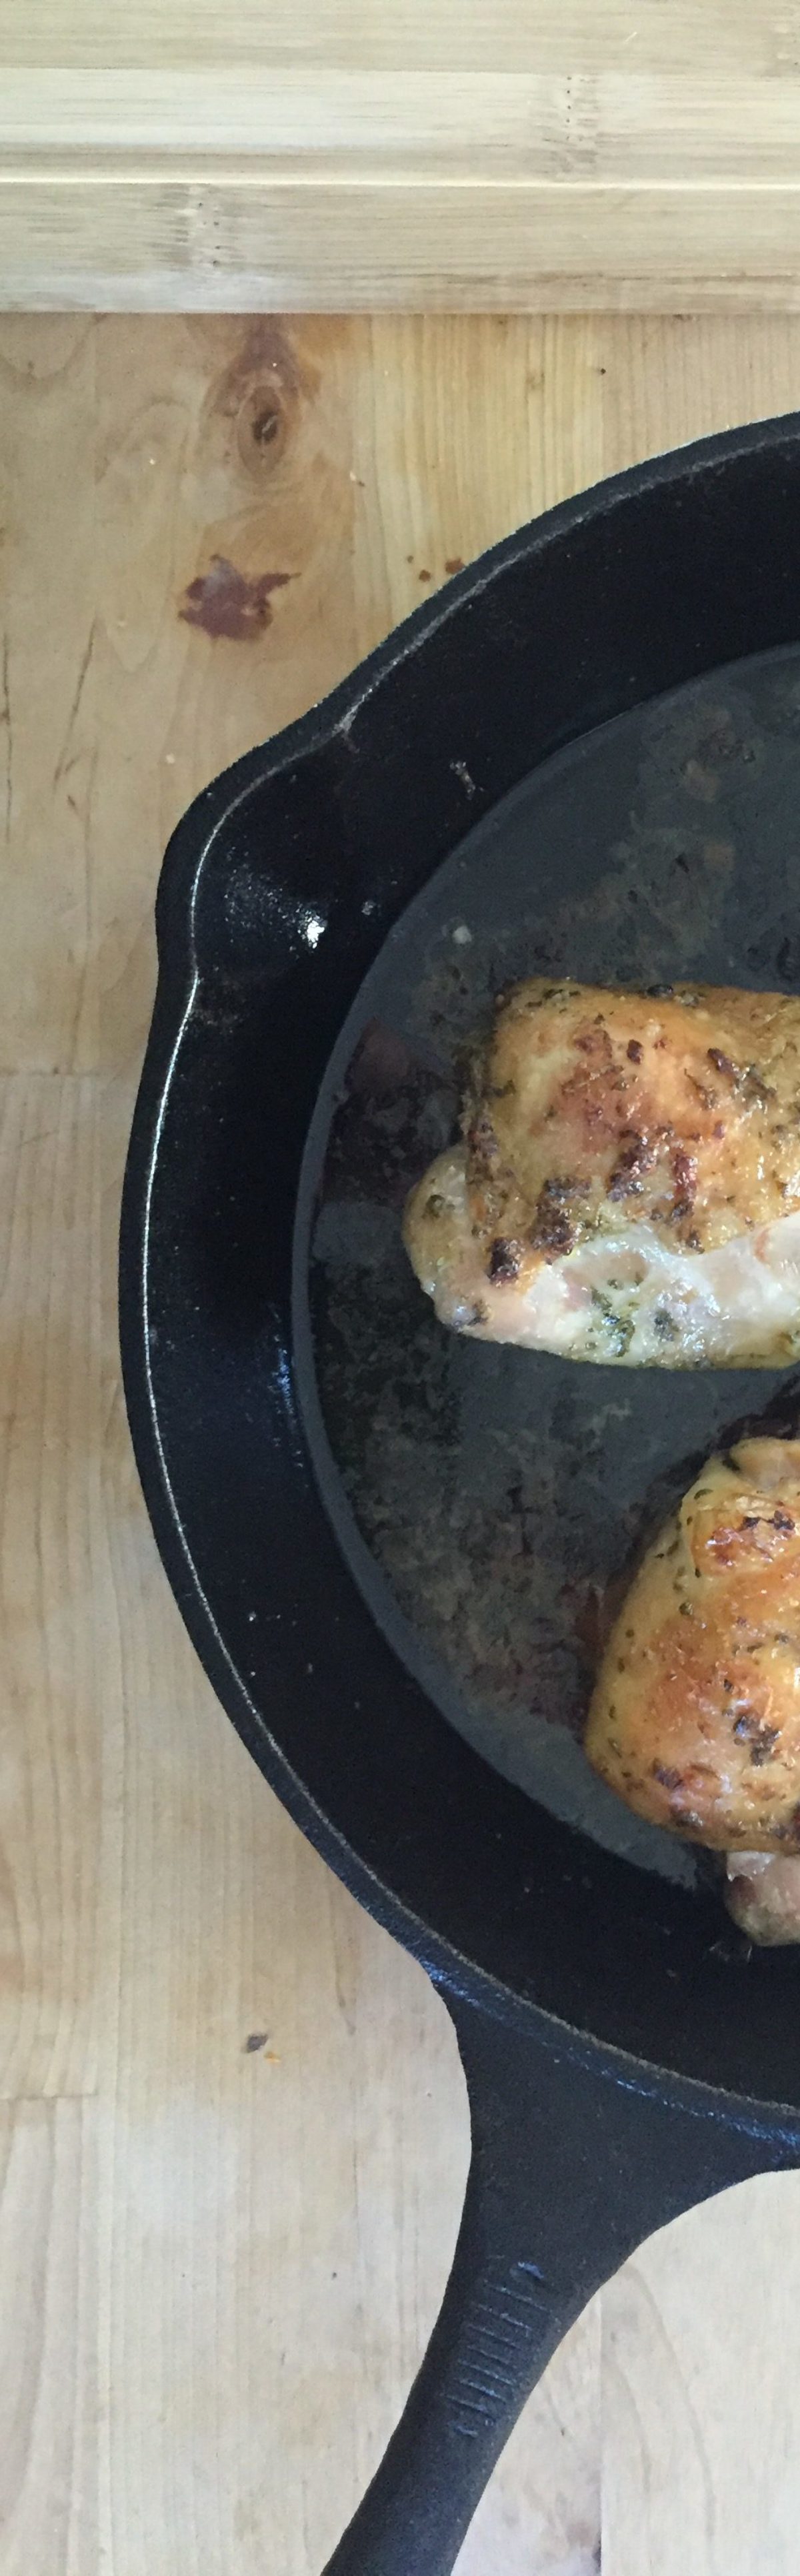
Roasted Turkey

I cook my turkey in pieces. I know, I know, not traditional, but after listening to many chefs being interviewed on the Splendid Table (
http://splendidtable.publicradio.org/) over the last few years, I have followed their lead and roast the white meat in the oven while the dark meat, bones, and giblets braise on the stove. This is actually faster, only a couple of hours for a 12-15 pound bird. If you want to brine the turkey go for it. I did last year in water, salt, lemon, pepper and garlic over night. The morning of Thanksgiving, dry the breasts thoroughly. In a separate bowl mix butter, sage, rosemary, thyme , salt and lemon pepper. Take the butter and rub it all over the breasts, including under the skin. Roast the breasts in an oven safe bag on top of sliced lemons, chopped onions, carrots, garlic + whatever veggies you like. Depending on the weight of your turkey, about an hour and a half (I think that is how long the breasts from my 12 pound bird took last year), until the right temperature. Check out the USDA sight on safe poultry handling for time and temperatures:
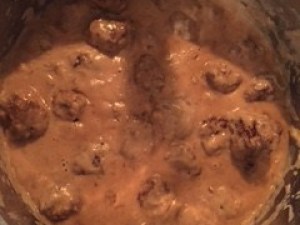
http://www.fsis.usda.gov/factsheets/lets_talk_turkey/index.aspThe dark meat and the giblets I brown in 1 part butter, 1 part olive oil in a very large sauce pan after rubbing with salt and lemon pepper. Then I add a chopped onion, clove of garlic and the braising liquid. The braising liquid is one part chicken stock, one part beef stock, 1/8 part white balsamic vinegar, thyme, rosemary and sage. Cover and braise on medium for 2-3 hours (depending on the size of your bird). Make sure liquid is about ¾ way up the bird.
The Chew is talking turkey today and
here is a link their turkey recipes. Food network and many other cooking blogs have tons of recipes for turkey. If you get overwhelmed, stop searching! You will find a million different ways to make a turkey, so just read a couple of recipes and think about how you roast a chicken and keep it simple! Simple = delicious!
Gravy
When the dark meat is done, take it out and let it rest on the platter under foil. Reduce the braising liquid by ½. Take out the veggies. Taste the liquid and add water or stock if too strong or if you want more of a vinegar flavor add more vinegar. You can use wine instead of vinegar. It all depends on your own taste. To thicken the gravy put a tablespoon of cornstarch in a mug and ladle some of the liquid into the mug and mix. Then pour it into the pan and whisk. Repeat until desired thickness. Strain to get out any lumps. Finish by whisking in a couple pats of butter. TIP: I usually serve gravy in travel coffee mugs. That way it stays warm all through dinner.
Cranberry Sauce
Everyone has their own preference and I am one of those people who LOVE the cranberry sauce out of a can. So good! I usually have a can of cranberry sauce + a can of the whole berry one so that there is a variety for people. If someone asks what they can bring and homemade cranberry sauce is their thing, by all means, they can bring it.
Steamed Lobster
For the past few years while we lived in Seattle I have served salmon alongside the turkey to add a little Pacific Northwest flair to the meal. Now that we are back in New England we were talking with my brother about what would be a good Boston flair to the meal. His idea was to bring already steamed lobster. I’ll never say no to that!
Stuffing
This is where I take some help from the store. Maybe it is nostalgia, but I love Stove Top stuffing. I buy the savory herb blend. To make it a little more my own, I brown up some mild Italian sausage and some chopped apples and add it to the stuffing after cooking it according to the directions on the box. Put it in a casserole dish covered to stay warm, putting it in the oven if you need to. If its drying out, add a little chicken/turkey or beef stock and cover to allow the steam to moisten the stuffing.
Sweet potato dish
Mashed potatoes
Peel and dice the potatoes (You don’t have to peel them if you don’t want to). Put them in a pot and pour enough milk over to cover the potatoes. Add a little garlic powder, onion powder, salt and pepper and stir. Turn on heat to medium/medium high and watch to make sure milk doesn’t boil over. Simmer until potatoes are soft. Drain potatoes leaving a little milk in the pot. Add butter, couple of tablespoons of cream cheese, salt and pepper. Mash, taste and add more butter, milk, salt or pepper to your taste.
Spinach Salad with roasted butternut squash, goat cheese and raspberry vinaigrette
Thanks Lauren for this! This is so good! First, peel and cube a fall/winter squash of your choice. Toss with olive oil, salt and pepper. I also add some Trader Joe’s Everyday seasoning, a coriander mix on a sheet pan. Roast for about 20-25 minutes at 375 degrees. While its roasting arrange fresh spinach leaves on a platter. When squash is browning around the edges, take out and place on top of spinach. Top with some crumbled goat cheese and drizzle with a raspberry vinaigrette of your choice. Sooo good!
Here is another option for a
squash salad from Sally, using items from your local farmer’s market.
Dinner rolls
I also take some help from the store or local bakery with this one.
Here is a tip from Our Best Bites to make store bought rolls a little fancier with some fresh herbs:
Compound Butter
This may sound fancy but is really simple and delicious! I take a couple of sticks of butter and leave on counter to soften. Once soft, then mix it in a bowl with some lemon zest and fresh thyme (or whatever other fresh herbs you have on hand). Either put it in a small shallow bowl and refrigerate or make a log out of it and wrap in plastic wrap or wax paper and refrigerate or (what I’m going to do this year) put in a shallow flat pan and refrigerate. Once cooled and hardened then use cookie cutters to cut out little shapes. I found some cute leaves, acorns, pumpkin ones that will look very fancy, but without much work! I found the idea in an old Martha Stewart magazine.
Dessert
I’m not really much of a baker, so when people are coming to Thanksgiving at my place and ask what they can bring, I usually say dessert. I have made some things in the past from Our Best Bites.
This pumpkin crumble is amazing!! Beverages
Wine – good pinot noir or Riesling – whatever you like the best.
Beer – Have on hand what you know your guests will like.
Butterscotch martinis – My favorite fall drink! 1 part butterscotch schnapps, 1 part vodka, shake and serve.
Coffee/Tea
Milk
Apple cider
Cranberry Juice
Apple Juice
TIP for the kids: Have a little project or puzzle handy for each kid (dollar store is a great resource) to give them after dinner so they have something to keep them occupied until dessert, especially if is raining. If not raining have one, two or more adults play with them outside until dessert.


 If you like what you are seeing and reading, please sign up so you don’t miss a post! Also click on the buttons below to sign up to follow me on social media.


